Basic workflow example (web interface)
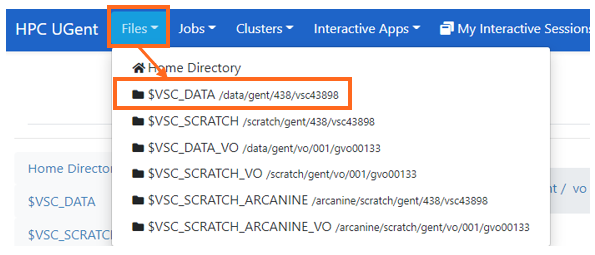
1. Go to https://login.hpc.ugent.be and fill in your credentials
2a. If running for the first time: navigate and set up directories
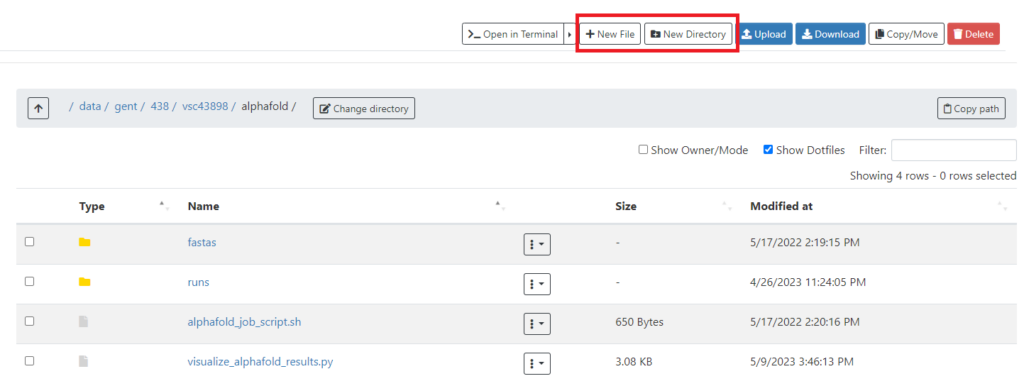
New files and directories can be created using the corresponding buttons. Create an alphafold directory, with fastas and runs directories inside. Add the alphafold_job_script.py by downloading it from the GitHub repository, and add it by uploading it using the Upload button. Alternatively, copy the contents of the file into a new file.
2b. If directories already set up: navigate to the alphafold/ directory
3. Create a new FASTA file
Use the New File button to create a new file in the fastas directory.

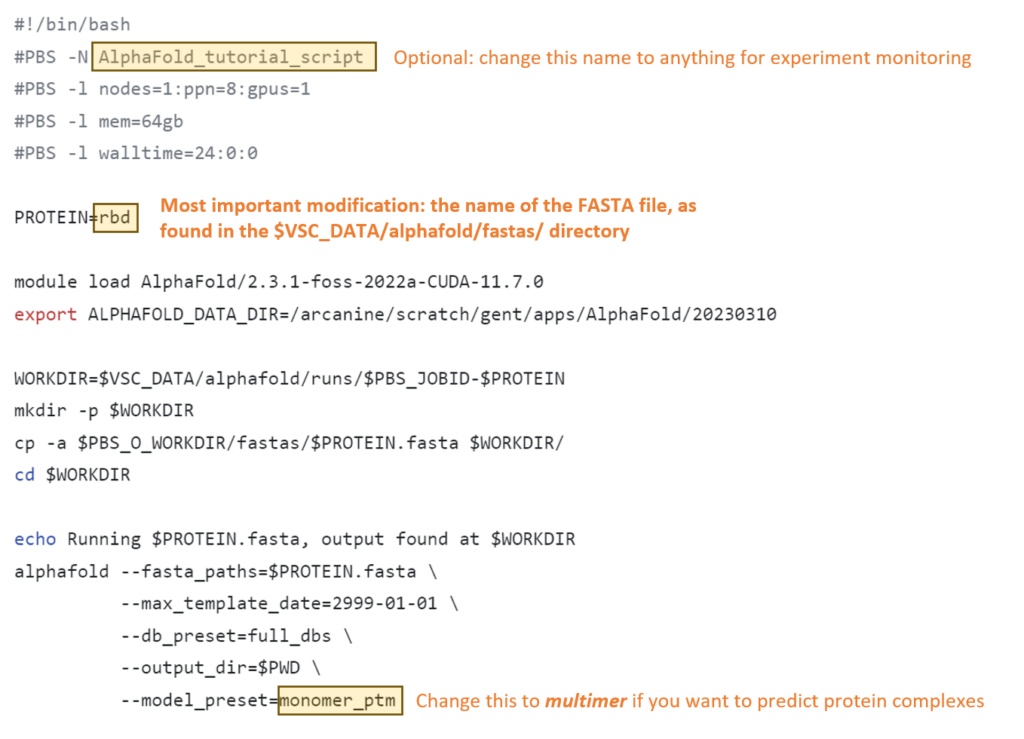
4. Modify the job script to use your FASTA file
5. Open the terminal and swap to the GPU cluster
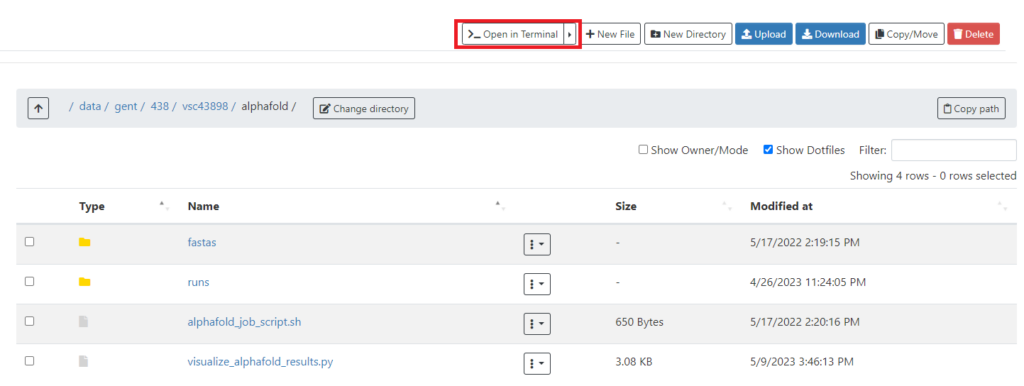
Note that the terminal opens in your current directory.

6. Submit your job, check progress, wait
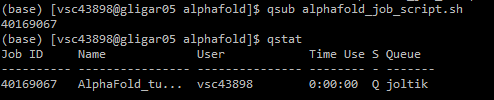
The state (Q) will change to R when running, F when failed, and C when completed (or crashed).
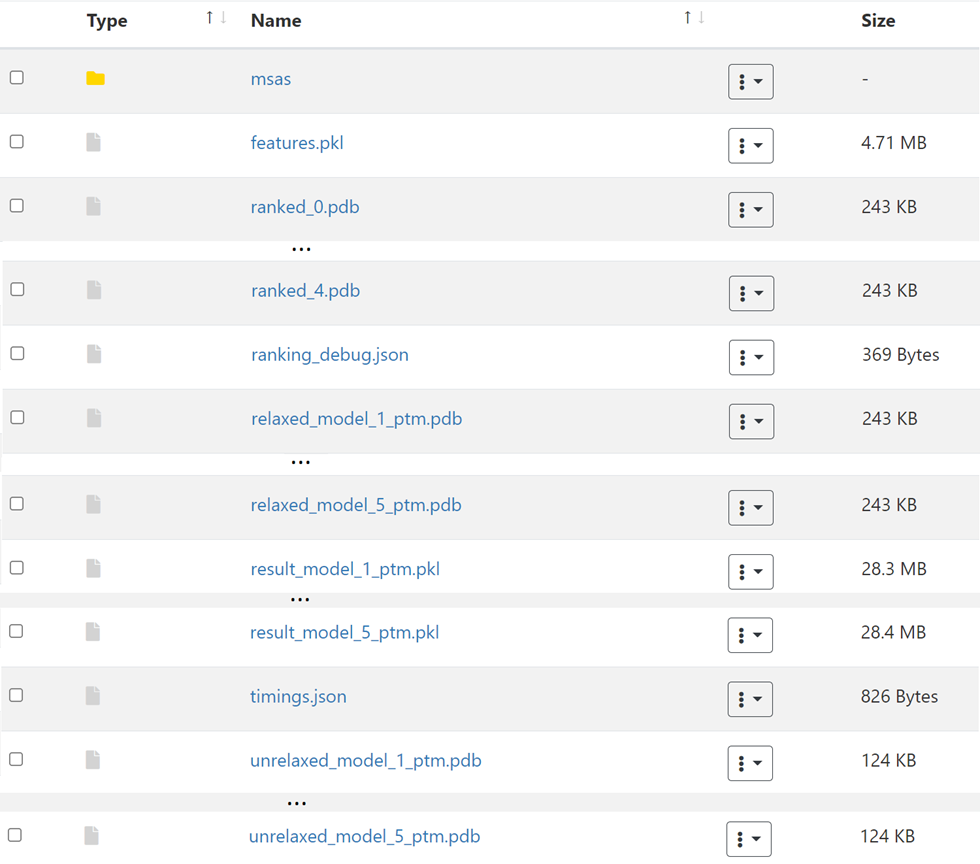
7. Gather outputs
You can download any of the results by pressing the three dots and selecting Download.
8. Generate visualizations
As described in an earlier topic, you can generate visualizations for this run using an extra python script. Open a terminal, load in the correct modules (AlphaFold and matplotlib) and run visualize_alphafold_results.py as shown below.
